Traveling With A Baby

Getting back into traveling when you’ve just had a baby can seem like a daunting task. There are just so many things to think about! My hubs and I used to be a “carry-on and backpack” only type of travel crew, but the addition of our baby, Harper, turned us into the “checked-bags / arrive two hours early” family. Such a different travel experience! Good news for you is that, it really isn’t bad at all (even if you find out mid flight that your diaper bag does not, in fact, have any diapers in it…yikes!) You just need to be prepared. To help my fellow travel-mommas, the following post will go over booking, hotels, plane flights, and more based on our first few trips!

The first important thing to discuss is mindset. It can get very stressful planning a trip with a baby. Our first vacay was supposed to be stress free, but 2 weeks out from our Florida trip, 2 additional trips popped up. We had a work/ family road trip to Houston, a solo mom work trip to Minneapolis, and our first flight trip to Florida all within 1 week, while pumping! Talk about the need to plan ahead. We made it through all of that because, at the end of the day, what was the worst thing that could happen? Yes, Harper could have cried in the car or on the plane. We did, in fact, forget diapers on the plane which we realized when she had a poop, but we made it and no one on the plane complained. We could have forgotten something but there are always Targets, Walmarts, or other stores close to pickup anything we forgot. If we ran out of bottled milk, I was on tap. At the end of the day, just know that “the worst thing that could happen” is not THAT bad and you will still enjoy yourself. As moms, we have so much to juggle, so take a breath and don’t be hard on yourself!

The second part is your expectations. If you haven’t read about my other trips, in summary, I pack A LOT of activities into a little time. I almost killed Ryan in Rome with trying to see the city in one day! Traveling with a baby is a completely different pace than what we are used too – but that is OK! The vacation will be slower, but honestly, you probably need it to be that way to get rest, take naps (Naps on vacation? What?! But yes, naps are good!), and not stress yourself out. For Florida, I told myself I wanted a restful vacation. We had no places we HAD to be, no time frames, and just a very rough outline of things we could do if we were up for it. Honestly, that was perfect. It gave us so much flexibility to do things based on Harper’s pace and our energy levels. This is your time to get some R&R, so give your self some grace. Your trip will be what you make of it and mindset is a huge part of that!

Harper ready for takeoff!

Considerations For Planning Your Trip With Baby:

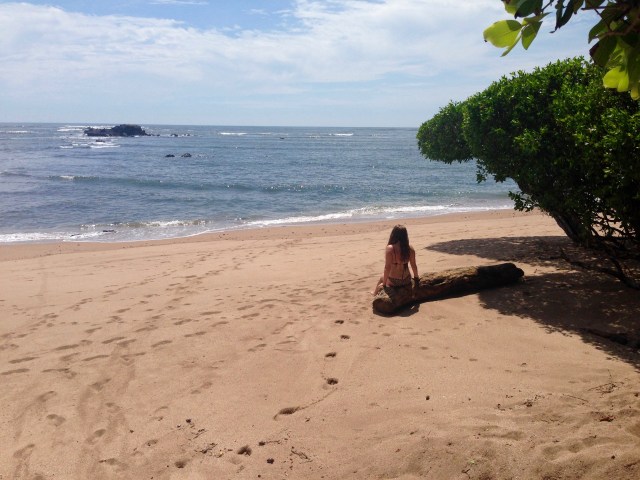
  • Where To Go: You have so much stuff to bring with a baby. A trip that has multiple hotels, locations, and un-packs / pack-ups is going to be tough. We opted to go to Florida and stay on the beach in the same hotel for 5 nights which made it so much less stressful. Also, consider places with lots of outdoor places for you to enjoy with your little one. Just make sure to check the weather for the time of year you are going.
  • Distance to the Airport: Babies should not be in carseats for hours on end. Pick a spot within an hour or so of the airport because you will be exhausted after the flight. Also, if you choose an early flight like we did at 7:10 AM to Florida, expect a VERY early wake up (aka 4 AM) since you will want lots of time at the airport. The further your drive to the airport, the earlier the wake up. Also, if you have a rental car, you will need to add more time for getting gas, dropping the car off, and getting to the gate.
  • Activities: We usually book so many excursions on our trip, but with a baby, most of the usual suspects (long tours, adventure activities, etc.) are off the table. However, that does not mean you can’t have fun! Beaches, pools, areas to hike, zoos, gardens, water-taxi / larger boat rides, and National Parks, areas with town squares or walkable shopping districts are great places to go with kids as they usually don’t require a certain time to go, are paved for strollers, are cheap to get in, and give you areas for down time if needed. Indoor places like museums, aquariums, art galleries, malls, restaurants with a great view so you can camp out, etc. are great for rainy or hot day options as well.
  • Renting a Car/ Ubering: Ubers ARE doable with a carseat (even without the base). We did Uber to the airport and then we rented a car in Florida to get around. It was just easier to keep our stuff in and have our own, flexible schedule. Also, I could pump in the rental car while Ryan drove if we were out longer than expected. That would be AWK in an Uber.

Baby Friendly Hotels:

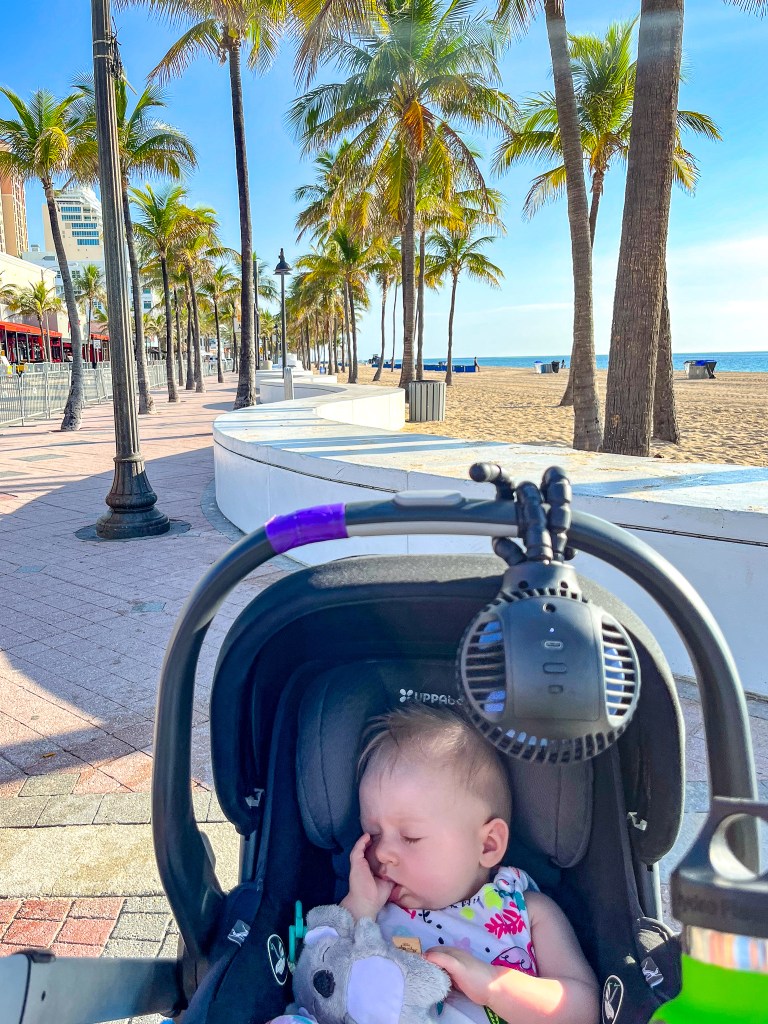
  • Location: Hotels close or walkable to the main areas you want to explore are super helpful. We booked our Florida hotel right on the beach, so it was a 2 second walk to the huge pool or beach. Also, the hotel was right next to the beach walk with tons of restaurants so we went for a stroll every morning and walked to almost all of our lunch and dinner spots.
  • Amenities in Order of Importance:
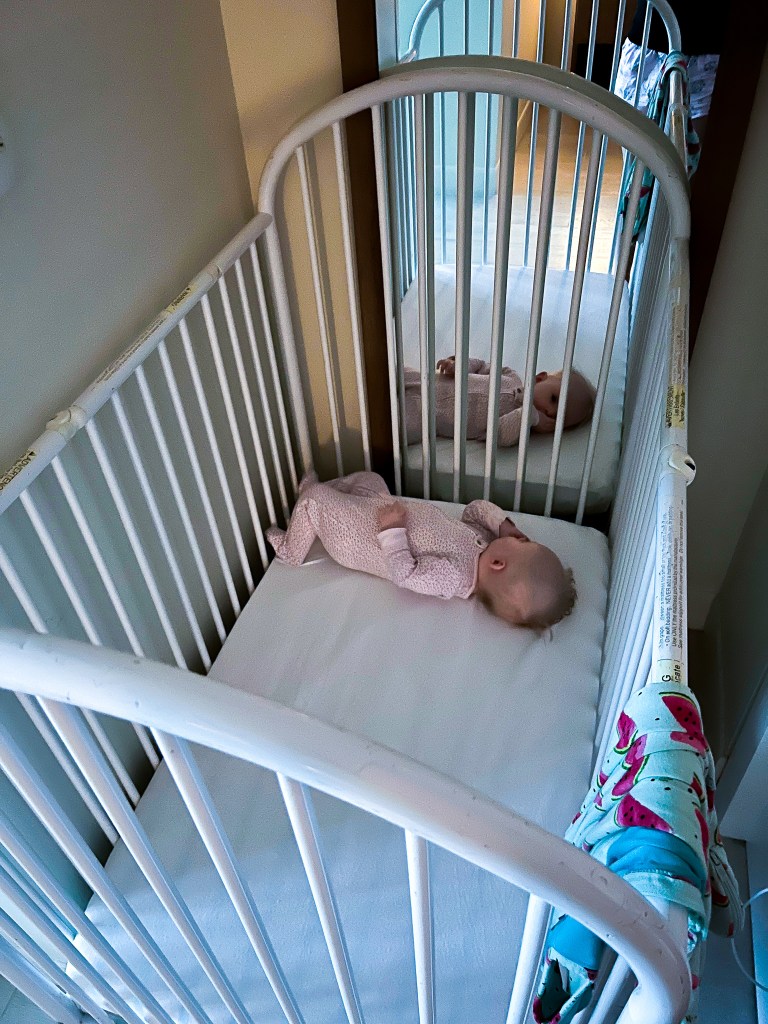
    • Baby Crib: Many hotels offer cribs, you just need to ask or check their website! This will provide a safe sleep space for your little one so you don’t have to lug one with you. So helpful! Just make sure to call a few days in advance and confirm you have one set aside for your room.
    • Kitchenette Area: To me, washing bottles and pump parts in the bathroom just does not feel sanitary. We had a little kitchen area in FL with a sink and it was a game changer. Also, having a freezer instead of just a mini-fridge for any extra pumping milk for those breastfeeding mommas out there is a nice-to-have as well.
    • Double Queen Beds: We got a King in FL and had double Queen beds in Houston. It was so nice to have an extra bed to use for Harper and her stuff in Houston. She played on it, we changed her on it, and if she spit up or had a blow out, we were NOT sleeping on it. The extra play space was so nice.
    • Elevators: If you are staying in a motel, get a 1st floor room. You do not want to lug all of your stuff up and down those stairs.
    • Balcony with a View: Getting up so early with a baby, we spent a lot of time drinking coffee, eating breakfast, and enjoying nap time on our hotel’s balcony in Florida. Having a way to enjoy your new environment from the hotel room is an big added benefit.
    • Kid’s Clubs / Activities: We traveled with Harper at 5 months old. Most Kids Clubs / hotel babysitting services have age minimums (starting at 6 months) in order to use them. Check that when booking if you want to take advantage for a date night or two.
  • AirBNB / VRBOs: These are always an option and having a bathroom / kitchen would be so helpful. The biggest thing to call out with rentals is a safe sleep space for the baby. Check in advance if they offer cribs or if you have to bring your own.
  • Darkness: Hotels are full of natural light during the day. While I love light and windows, it is not conducive to nap time! Our Houston hotel was way too bright and we had to put Harpers crib in the closet and use our cloth wrap on top to try and block the light. We bought this crib cover for our Florida trip and it made nap time so much easier!

Flying With Baby:

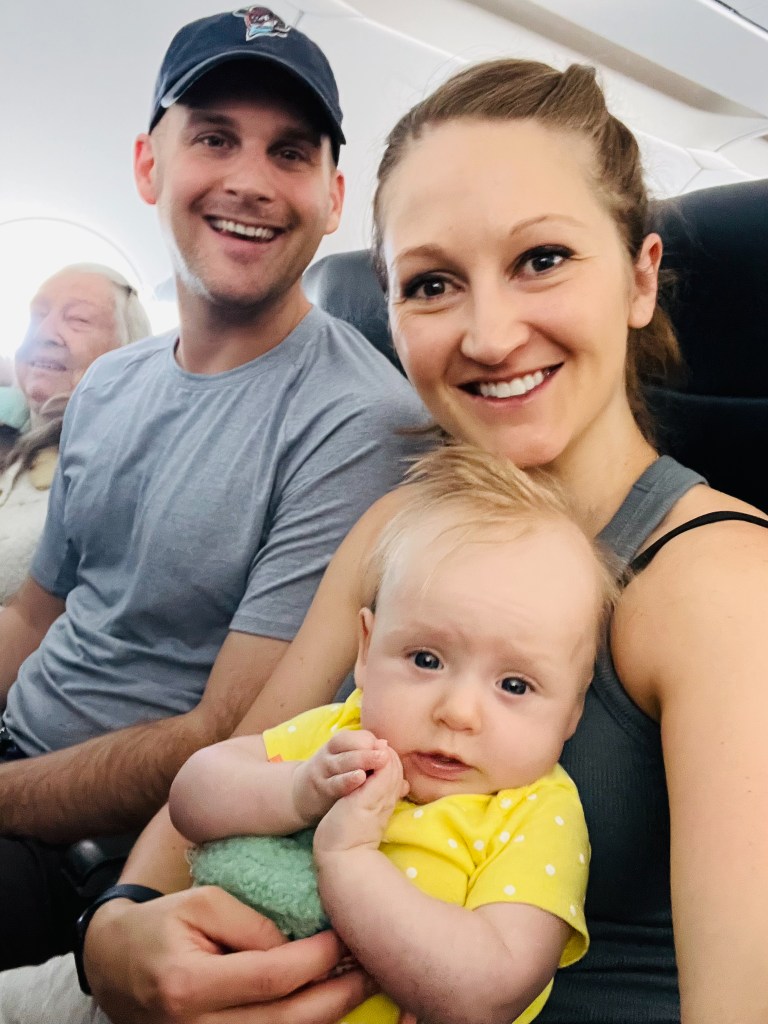
  • Booking Your Flight: If you have a baby under 1, they can fly free as a lap child! Doing so for a 3 hour flight to Florida was easy. Just consider how comfy you would be having a baby on your lap for longer international flights of 5+ hours. That might be the time to book a second seat, even if you have to pay. When you do book, just make sure to indicate you are flying with a lap child in the booking. Try and get seats to the front of the plan for a quick exit and an isle seat for easy trips to the bathroom if needed.
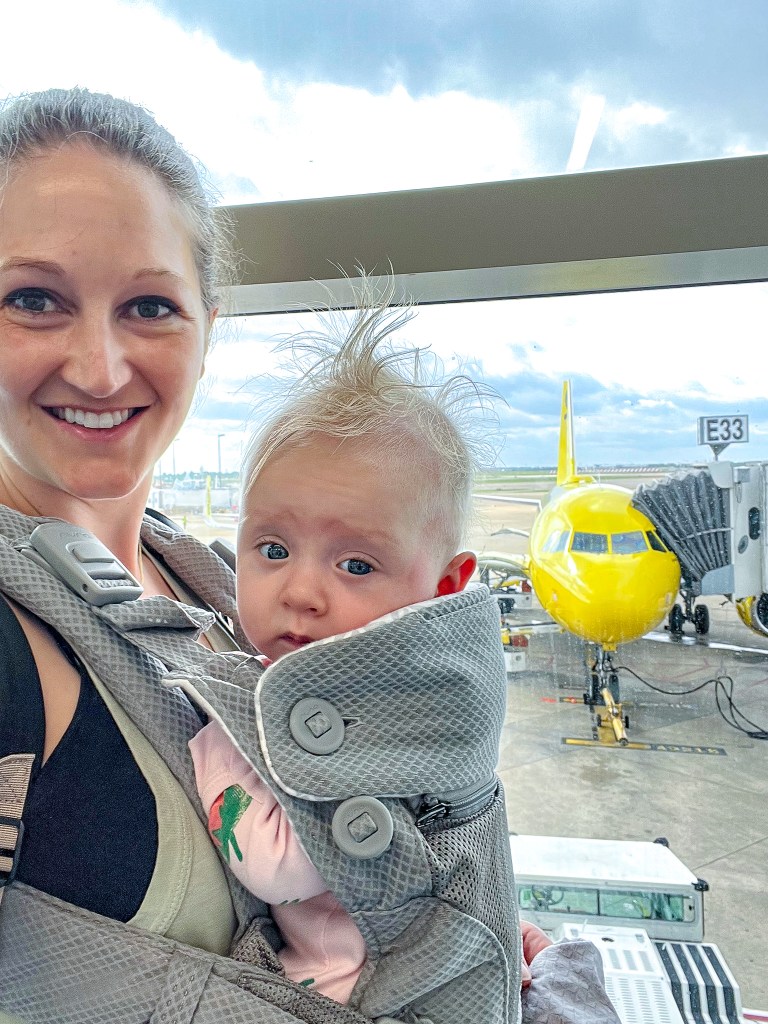
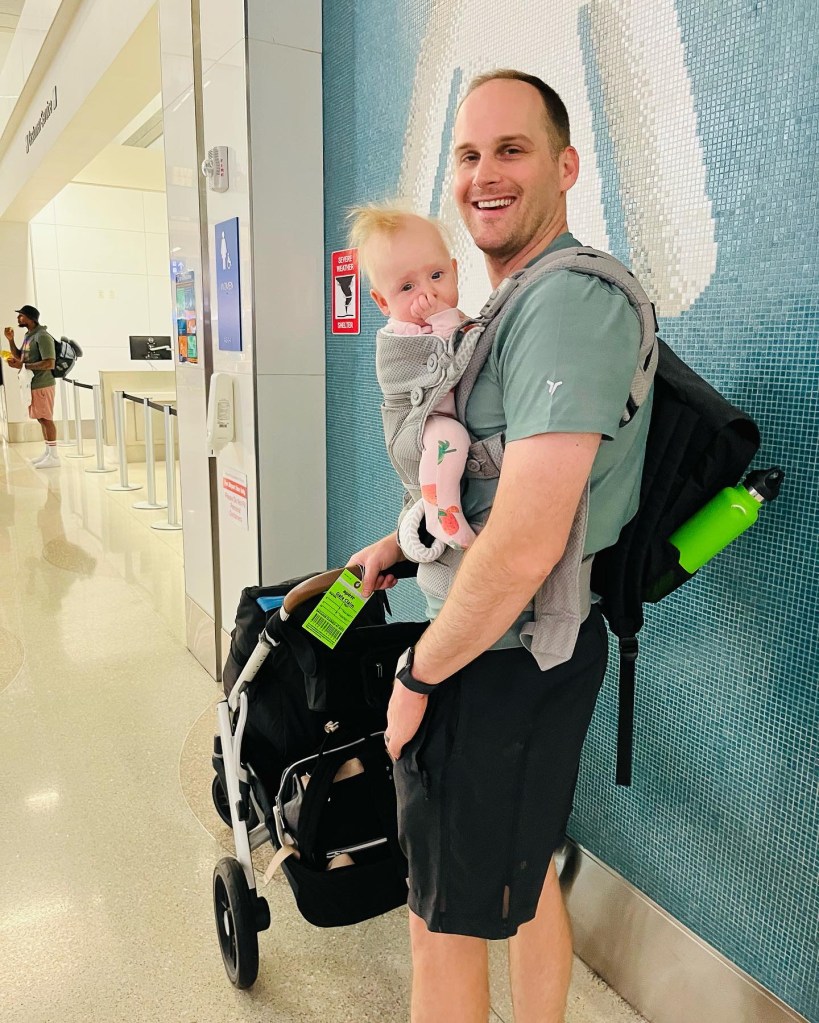
  • Airport Arrival Time / Check-In: Give yourself at least 1.5 hours (2 if this is your first time traveling with baby) to check in. Our first flight needed all of that time since we hit a few snags. Even if you check in online, most airlines require check in at the desk for the lap infant. You will also likely have to check a bag with all of your stuff. MAKE SURE THEY PRINT A BABY BOARDING PASS. You will need this to get on the plane. Even though I booked the tickets with a lap infant and all of Harper’s details, they did not print a boarding pass for her upon checkin and we had to recheck in at the gate as we could not board the plane without one. We lost our original seats in that process too. Talk about stress. You will also need to check your stroller and carseat at the gate and get a tag so you can bring it down the jet bridge.
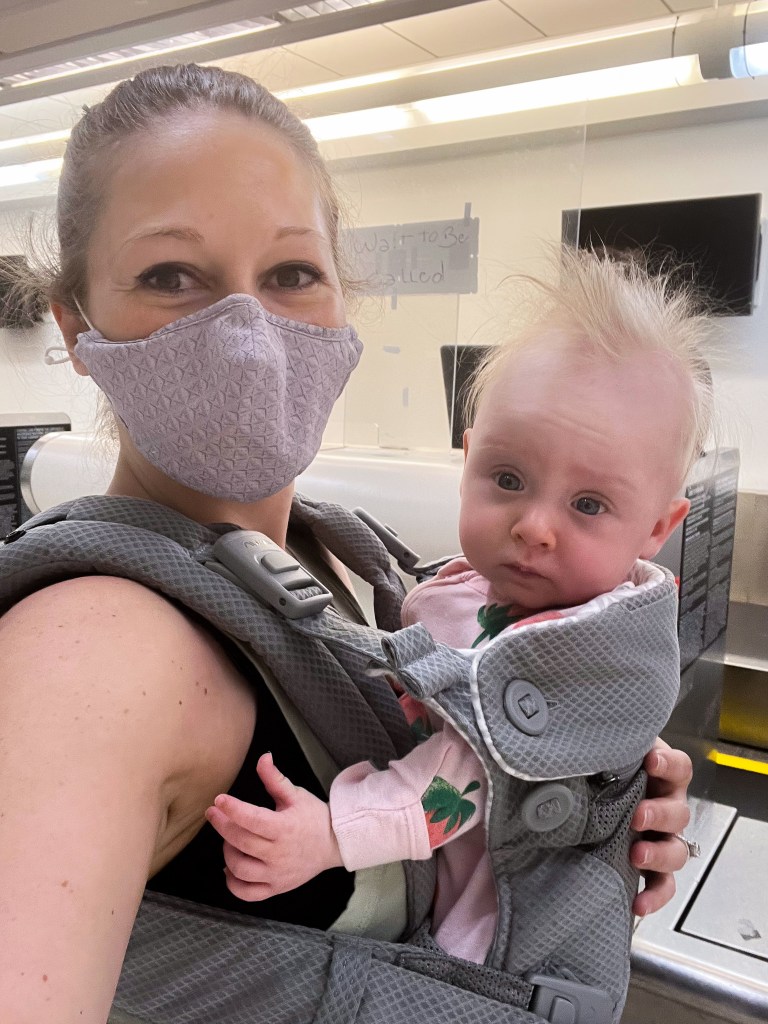
  • Getting Through Security: Wear your baby! We went through TSA Pre (which is so nice since you don’t have to take your shoes off and the lines are so much shorter) and Ryan’s ticket did not say TSA Pre so he had to go recheck in. I went through security while carrying Harper in my arms and getting the stroller / car seat broken down and the milk out was so hard. A nice man had to help me out. On the way back from that trip, I carried Harper in the Ergobaby carrier and it was so much easier! If you are brining milk, just have it in a cooler that you can easily take in and out of your bag. We used this Skip Hop cooler that fits 3 Dr. Brown’s bottles. I also bought these long lasting, sandwich-size icepacks to keep things extra cold.
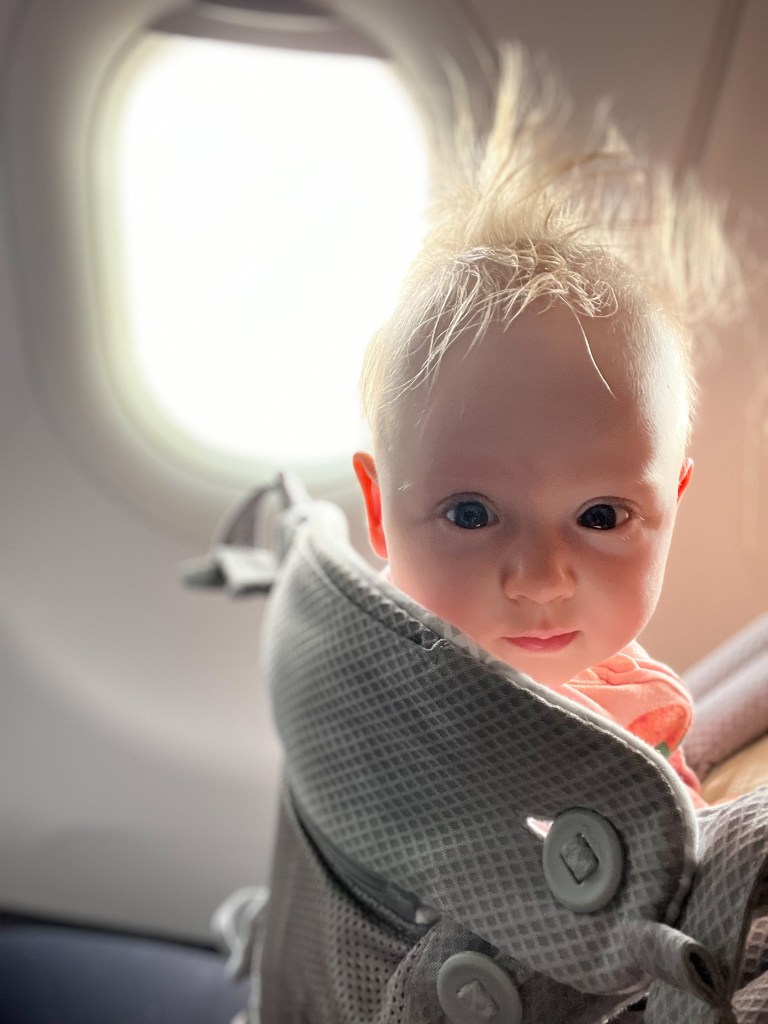
  • Flying & Pumping: Being on a pumping schedule is hard. You will likely have to do so at some point during your flight experience. It is not that bad! Airports have lactation rooms or pods in each terminal. I used those on my work trip to Minnesota and trip to Florida. Just check the terminal maps for their locations. I used my Momcozy pumps which are perfect for travel to do so and brought a cooler for the milk / Ziplock freezer bags for the pump parts. I also pumped mid-flight twice as well. I brought a scarf to wrap around while I was in my seat using the Momcozys and it was super easy. If you are traveling solo with baby, make sure to pump in the airport as doing so on the plane without someone with you will be very challenging.
  • Stroller / Car Seat: Most airlines (even Spirit!) let you check your stroller and car seat for free at the gate. You will need to get a tag at the gate agent and carry these things down the jet bridge. I highly recommend getting a case or protective bag for your carseat. If you buy it from the carseat brand, they usually will replace your carseat if it gets damaged in transit if in the case. Checking at the gate will reduce the risk of damage in transit and you will get them back as soon as you get off the flight on the bridge.
  • Baggage: You can also bring an extra bag for your kiddo onto the plane for no extra charge. Pack your bags for flights strategically and have Bags 1 & 2 for under the seat/ easy access and Bag 3 in the overhead bin.
    • Bag 1: Baby stuff. Toys on the bottom, food, pacifiers, and changing stuff on top of the bag for easiest access. Wipes / hand sanitizer.
    • Bag 2: Your entertainment, pumping stuff if needed, snacks, purse, water, and wallet.
    • Bag 3: Additional stuff you need mid-flight or cannot fit in your checked bag. Since it is overhead, it will be harder to access. Try to put anything you need during the flight in bags 1 & 2.

Baby Packing List Must Haves:

  • Baby: Diapers / wipes, changing pad, bottles, ice packs for milk if needed, cooler for bottles, cleaning supplies for bottles, light blanket or towel (we used one for the beach), toys / books, pacifiers, moisturizer / shampoo / baby wash / diaper cream / baby sunscreen, hats, baby bug spay, stroller fan, stroller rain or bug covers, stroller cup holder for walks, bathing suits that cover arms with UV protection / swim diapers / swim hats, swim inflatable for the pool, baby ear protection (you never know when it will be loud like on a water Taxi), small packable umbrella for the beach or other random times there is sun, bows (because they are cute, duh), baby carrier, crib cover, PJs and outfits plus lots of backup outfits, and bags for bringing dirty clothes home. We used packing bags and put swimwear, pjs, day clothes, and accessories all in different bags for easy access and neater packing.
  • Momma: Pumping parts / chargers / cleaning supplies, pumping bras or shirts, swimsuits that can’t be pulled off easily, water bottle to keep hydrated, a fully charged phone with lots of space for new photos / videos, and excitement for the trip!

Overall, making your baby into your travel buddy is so easy and absolutely worth it! They will be so engaged with their new environments and you will get some needed rest and quality time with your baby. Talk about making core memories! Just take it slow, listen to your babies cues / don’t push too hard, and enjoy every second of it!

Hiking through Enchanted Rock outside of Fredericksburg, Texas

Hiking 101

Going on a hike soon and don’t know what to expect or can’t remember all of the things you need to bring? Don’t fret! Below your will find some tips about hiking prep and packing so you will have all of the tools you need for an awesome trek!

Pre-hike prep:

  • Pick a trail – Most trails are rated for their difficulty and length. Before you head out on a trail, check the trail’s website to see how long the trail is, the average time to complete the trail, the elevation change, and the level of difficulty, to ensure the trail meets your hiking goals.
  • Find a map of your trail – Most parks and trails will have trail maps available online. Print out a map before you go so that you have directions if the trails are not clearly marked or in case you lose cell signal.
  • Research where to park, park entrance fees, and park hours before you go. Some parks open at a certain time but, due to popularity, close once they hit capacity. Most hiking trails will tell you the optimal hours to arrive at the park. Additionally, while more and more parks are taking cards, some are still cash only, so be prepared to pay the park fee either way so you aren’t turned away at the gates!

What to bring on your hike:

  • Packable backpack – A good bag to carry extras is essential to any trip. A packable backpack fits easily into any suit case or car pocket, has supportive, padded straps for comfort, and has extra pockets for water bottles and other necessities you don’t want to hold by hand. My backpack (shown below) folds up to be about 5×6 inches:

  • Water bottles – Swell or Hydro Flask bottles are great. Not only do they look cool (no pun intended), they keep your water cold for hours and hours so you can be refreshed while in the heat.
  • A hat and UV protected sun glasses – Make sure your sunnies stay on when you tilt your head back and forth. You will be looking at the ground a bunch so you don’t want a pair that constantly slips down your face.
  • Hiking boots – Along with a good pair of socks, shoes are the most important part of a hike. Invest in a good pair with support, ventilation, and decent grip. REI is a great place to go try on boots with some expert help, but you can find a bunch of options on Amazon with rave reviews. If you are going on a hike and can’t buy a new pair of shoes right now, wear sneakers with a lot of tread and ankle support.
  • Hiking socks – Investing in a decent pair of socks will prevent painful blisters down the road. REI has comfy and soft hiking socks that come with either high and low tops and will keep your toes warm without blister discomfort. If you are still nervous about blisters on a long hike, check out BodyGlide. I use it when I go on long runs (8-20 milers) and it prevents blisters wherever you feel a chafe. Also, if you are going into grassy areas, wear higher socks and long pants so you don’t get dirt, bugs, or poison ivy on your legs.

  • Protein bars for extra energy – No one wants to hike on an empty stomach! If you are going for over an hour, bring a healthy snack, high in protein and  / or healthy carbs, to pick you up. My favorite are Quest bars, especially the white chocolate raspberry and cookies and cream flavors, almonds, and apples.
  • Bug spray – A must if you are a mosquito magnet like I am!
  • Band aids or a small first aid kit – Target has a bunch of travel sized first-aid kits with a little of everything you may need.
  • Camera / phone for pictures – Don’t forget your selfie stick! You may also want to bring a portable phone charger just in case.
  • A light and comfortable jacket – Just in case it gets cool
  • Umbrella – Check your local weather before you go to make sure you don’t have any rainy surprises!

Have questions? Feel free to comment them below. If not, happy hiking!

Beach Vacation Packing List

Beach Vacation Packing List

Weather you are heading to the exotic beaches of Mexico, Australia, or Thailand, island hopping through the Virgin Islands or Hawaii, or just heading to the US coastline, beach packing is pretty standard across the board! The following packing list should help you get everything you need together for an amazing trip with no “I can’t believe I forgot ….” moments!

Clothing:

  • Swim suits: A few of them! Who wants to wear a wet bathing suit multiple days in a row? A few options, like strapless suits for your lazy days on the beach so you won’t get crazy tan lines and more sturdy suits that tie around the neck and wont fall off while you are snorkeling or going on excursions with more movement, will be your best bet. While my favorite swim wear comes from Everything But Water, Target and Aerie have reasonably priced options you can’t beat as well
  • Tank tops: Light, breathable tops to keep you cool but give you some sun coverage when you need it
  • Shorts: Make sure they will not chafe and are comfortable / easy on / off when wet. If your thighs rub together like mine (*sigh*), longer shorts, like those at Gap, can help prevent the rub when your sticky from the salt water
  • Easy on / off rompers or sun dresses: Perfect to wear to the beach or resort pool as a cover up and cute enough to go to a restaurant after
  • Athletic leggings / shorts and tops for excursions or workouts: Focus on light, breathable, sweat-wicking, and easy to clean clothes for your zip-line or adventurous tours
  • Formal wear: Don’t forget flowy dresses or a cute skirt / top combo for nice dinners and dancing. Heels might be a bit much for the casual beach scene, so wedges, chunky heels, or cute sandals might be the easier to pack, more practical option
  • A scarf or light jacket for those cool beach nights (and the plane ride to and from your destination)
  • Don’t forget your undies, socks, and bras!

Accessories:

  • Water bottle for excursions: I love Swell bottles. They are easy to travel with, keep drinks cold for hours and hours, and are super cute
  • Water proof camera (if not your phone with a water proof case)
  • Umbrella: For both sun and rain protection
  • Floppy sun hat and sunglasses: A MUST. Bring nice sunglasses for pool days and some cheaper, “it’s ok if I lose these” ones to go in the ocean / on excursions with
  • Day bag: Pack-able backpack for your sunscreen, poncho, water and snacks, towels, and anything else you may need on excursions
  • Sun screen: Make sure you apply often! Don’t forget an oil free version for your face to avoid breakouts
  • Waterproof phone carrying case: This will save your phone when you are on bumpy jet boats, in rain, and are surrounded by water
  • Hand sanitizer, lip balm with sun screen, water proof make up, lots of aloe just in case of sun burns, and bug spray
  • Reading material for the plane or by the pool

Shoes:

  • Comfortable walking sandals that can get wet and keep your feet secure from slipping around. My personal favorite are Chaco’s. While they might not be the cutest shoes, they are so comfortable for miles of walking and are easy to clean. Note, black shoes tend to soak up the heat when you are in the pool or at the beach so lighter shoes are better
  • Sandals for walking beach
  • Sneakers and / or water shoes for adventure tours or a mid-vacay workout (funny right?)
  • Wedges or comfy heels for any “nice” nights out

Hopefully this list will take some of the packing stress away and help you have the best time on your beach vacation!

On the beach in El Salvador

Phuket Packing List

Phuket packing guide

Phuket and the surrounding islands are full of beautiful beaches and tropical adventures! Between sea-canoeing, swimming in resort pools, walking the beach, visiting popular islands, and walking the night markets, there is tons to do and lots to pack. Fingers crossed sunshine will be the only thing in your trip’s forecast, but during monsoon season (May – November), it rains like crazy on the coast, so you will want to ensure you are prepared no matter what!

Snorkeling outside of Maya Bay in the Phi Phi islands, Thailand

With all of that said, below are my recommendations for making the most out of your Phuket packing space:

Chaco Dorra Sandals  | NeatPack Foldable Backpack | Forever 21 Floppy Sun Hat | Cheap sunglasses bought in the night markets so if they go for a swim, its OK | a poncho & umbrella | Everything But Water Sundress | Everything But Water Bikini | Flowy Romper | Universal Bastex Dry Bag Wterproof Phone Case

Clothing:

  • Tank top: Light, breathable tanks that do not reveal too much but keep you cool. Make sure they can match with lots of prints so, if you buy clothes in Thailand, you can mix and match!
  • Shorts: That will not chafe and are comfortable / easy on / off when wet.
  • Easy on / off romper: Perfect to wear to the beach or resort pool as a cover up.
  • Athletic capri leggings and top for excursions: Focus on light, breathable, sweat-wicking, and easy to clean clothes for your zip-line or adventurous tours.
  • Formal wear: Flowy dresses or nice skirt / top combo. Remember, Thailand is a very conservative country so try not to reveal too much.
  • Bathing suit (2): Bring a strapless one for your lazy days on the beach or at the pool so you won’t get crazy tan lines. Bring a second one that ties around the neck and wont fall off while you are snorkeling or going on excursions with more movement.
  • Poncho or rain jacket: to keep dry. Bring with you at all times! You never know when the sky will open up and the rain will come.

A floating fishing village outside of Phuket, Thaliand

Accessories:

  • Water bottle
  • Camera (if not your phone)
  • Umbrella: For both sun and rain protection
  • Hat and sunglasses: A MUST
  • Day bag: Pack-able backpack for your sunscreen, poncho, water and snacks, towels, and anything else you may need.
  • Sun screen: Make sure you apply often!
  • Waterproof phone carrying case: This will save your phone when you are on bumpy jet boats, in rain, and are surrounded by water.
  • Hand sanitizer

Shoes:

  • Comfortable walking sandals that can get wet and keep your feet secure from slipping around
  • Sandals for walking beach
  • Sneakers for adventure tours

img_3978

Chiang Mai Packing List

Chiang Mai Packing List

After the heat and humidity of Bangkok, we were not surprised that Chiang Mai was along the same lines. Walking around downtown to check out the various temples was worse than the most humid of days in Houston Texas, so wearing breathable clothes, lots of sun protection, supportive shoes, and keeping hydrated was essential!

On top of gallivanting around town, a huge draw to visiting Chiang Mai are the elephant sanctuaries. The sanctuaries are typically in the mountain areas and there was an unexpected 15 minute hike to get to our location, so sneakers and sweat-wicking active wear was the way to go. Additionally, during monsoon season (May – November), it rains like crazy and gets super muddy, so you will want to ensure you have a plan for packing and washing your clothes after the fact…. Mine was washing everything in the shower afterwards and using the hairdryer to dry things…

Wandering temples in Chiang Mai, Thailand

With all of that said, below are my recommendations for making the most out of your Chiang Mai packing space:

Chaco Dorra Sandals  | NeatPack Foldable Backpack | Forever 21 Floppy Sun Hat | Cheap sunglasses bought in the night markets so if you lose or break them, its OK | a poncho / umbrella | Under Armour UA Fly-By Capri | Coach Messenger with Pop Up Pouch Bag

Clothing:

  • Shirts (1 per day): Light, breathable tanks or tees that do not reveal too much. Make sure they can match with lots of prints so, if you buy clothes in Thailand, you can mix and match!
  • Maxi skirts or maxi dresses (1 per day): Perfect to wear at temples and they dress up and down so easily! Try and buy ones with slits so you can have a bit more ventilation.
  • Athletic capri leggings and top for jungle excursions: Focus on light, breathable, sweat wicking, and easy to clean for your muddy elephant journey or adventure into the jungle.
  • Formal wear (number pending your night plans): dresses or nice skirt / top combo. Remember, the night markets are a great way to spend an evening and are very casual so, if you only have two nights, make sure you check out a market for one of them!
  • Bathing suit: bring one on the elephant tour and make sure you check out the hotel pool to relax your body after a long day of walking in the heat!
  • Buy some elephant pants in the markets. They are the most comfy $5 pants you will ever own. I wore them almost every night!

Accessories:

  • Water bottle
  • Camera
  • Light scarf: to cover your shoulders at the temples
  • Umbrella: for both sun and rain protection
  • Hat and sunglasses: A MUST
  • Day bag: pack-able backpack recommended to put your shoes in at temples, carry your water and snacks for long days, a change of clothes for after the elephant park, and anything else you may need.
  • Sun screen & bug spray: make sure you apply often!
  • Purse: A small, zipped (for security reasons), cross-body purse, to carry your personals. Try and make sure it is easy for you to get in and out of when you need to grab your phone or camera quickly to capture your favorite moments of the trip! Also, an easy to clean leather material will help if you maintain it and pick a color that is easy to match with.
  • Hand sanitizer
  • Tissues / toilet paper: if you want some in the bathrooms…

Shoes:

  • Sneakers that can get muddy
  • Comfortable walking sandals that are easy to take on and off (at temples)
  • Sandals for walking to the spa or pool / hot tub